Vent Sticker Electronics for Enclosures

All Categories

Get a Free Quote

Our representative will contact you soon.
Email
Name
Company Name
Message
0/1000
Vent Sticker Electronics for Enclosure Design

Vent Sticker Electronics for Enclosure Design

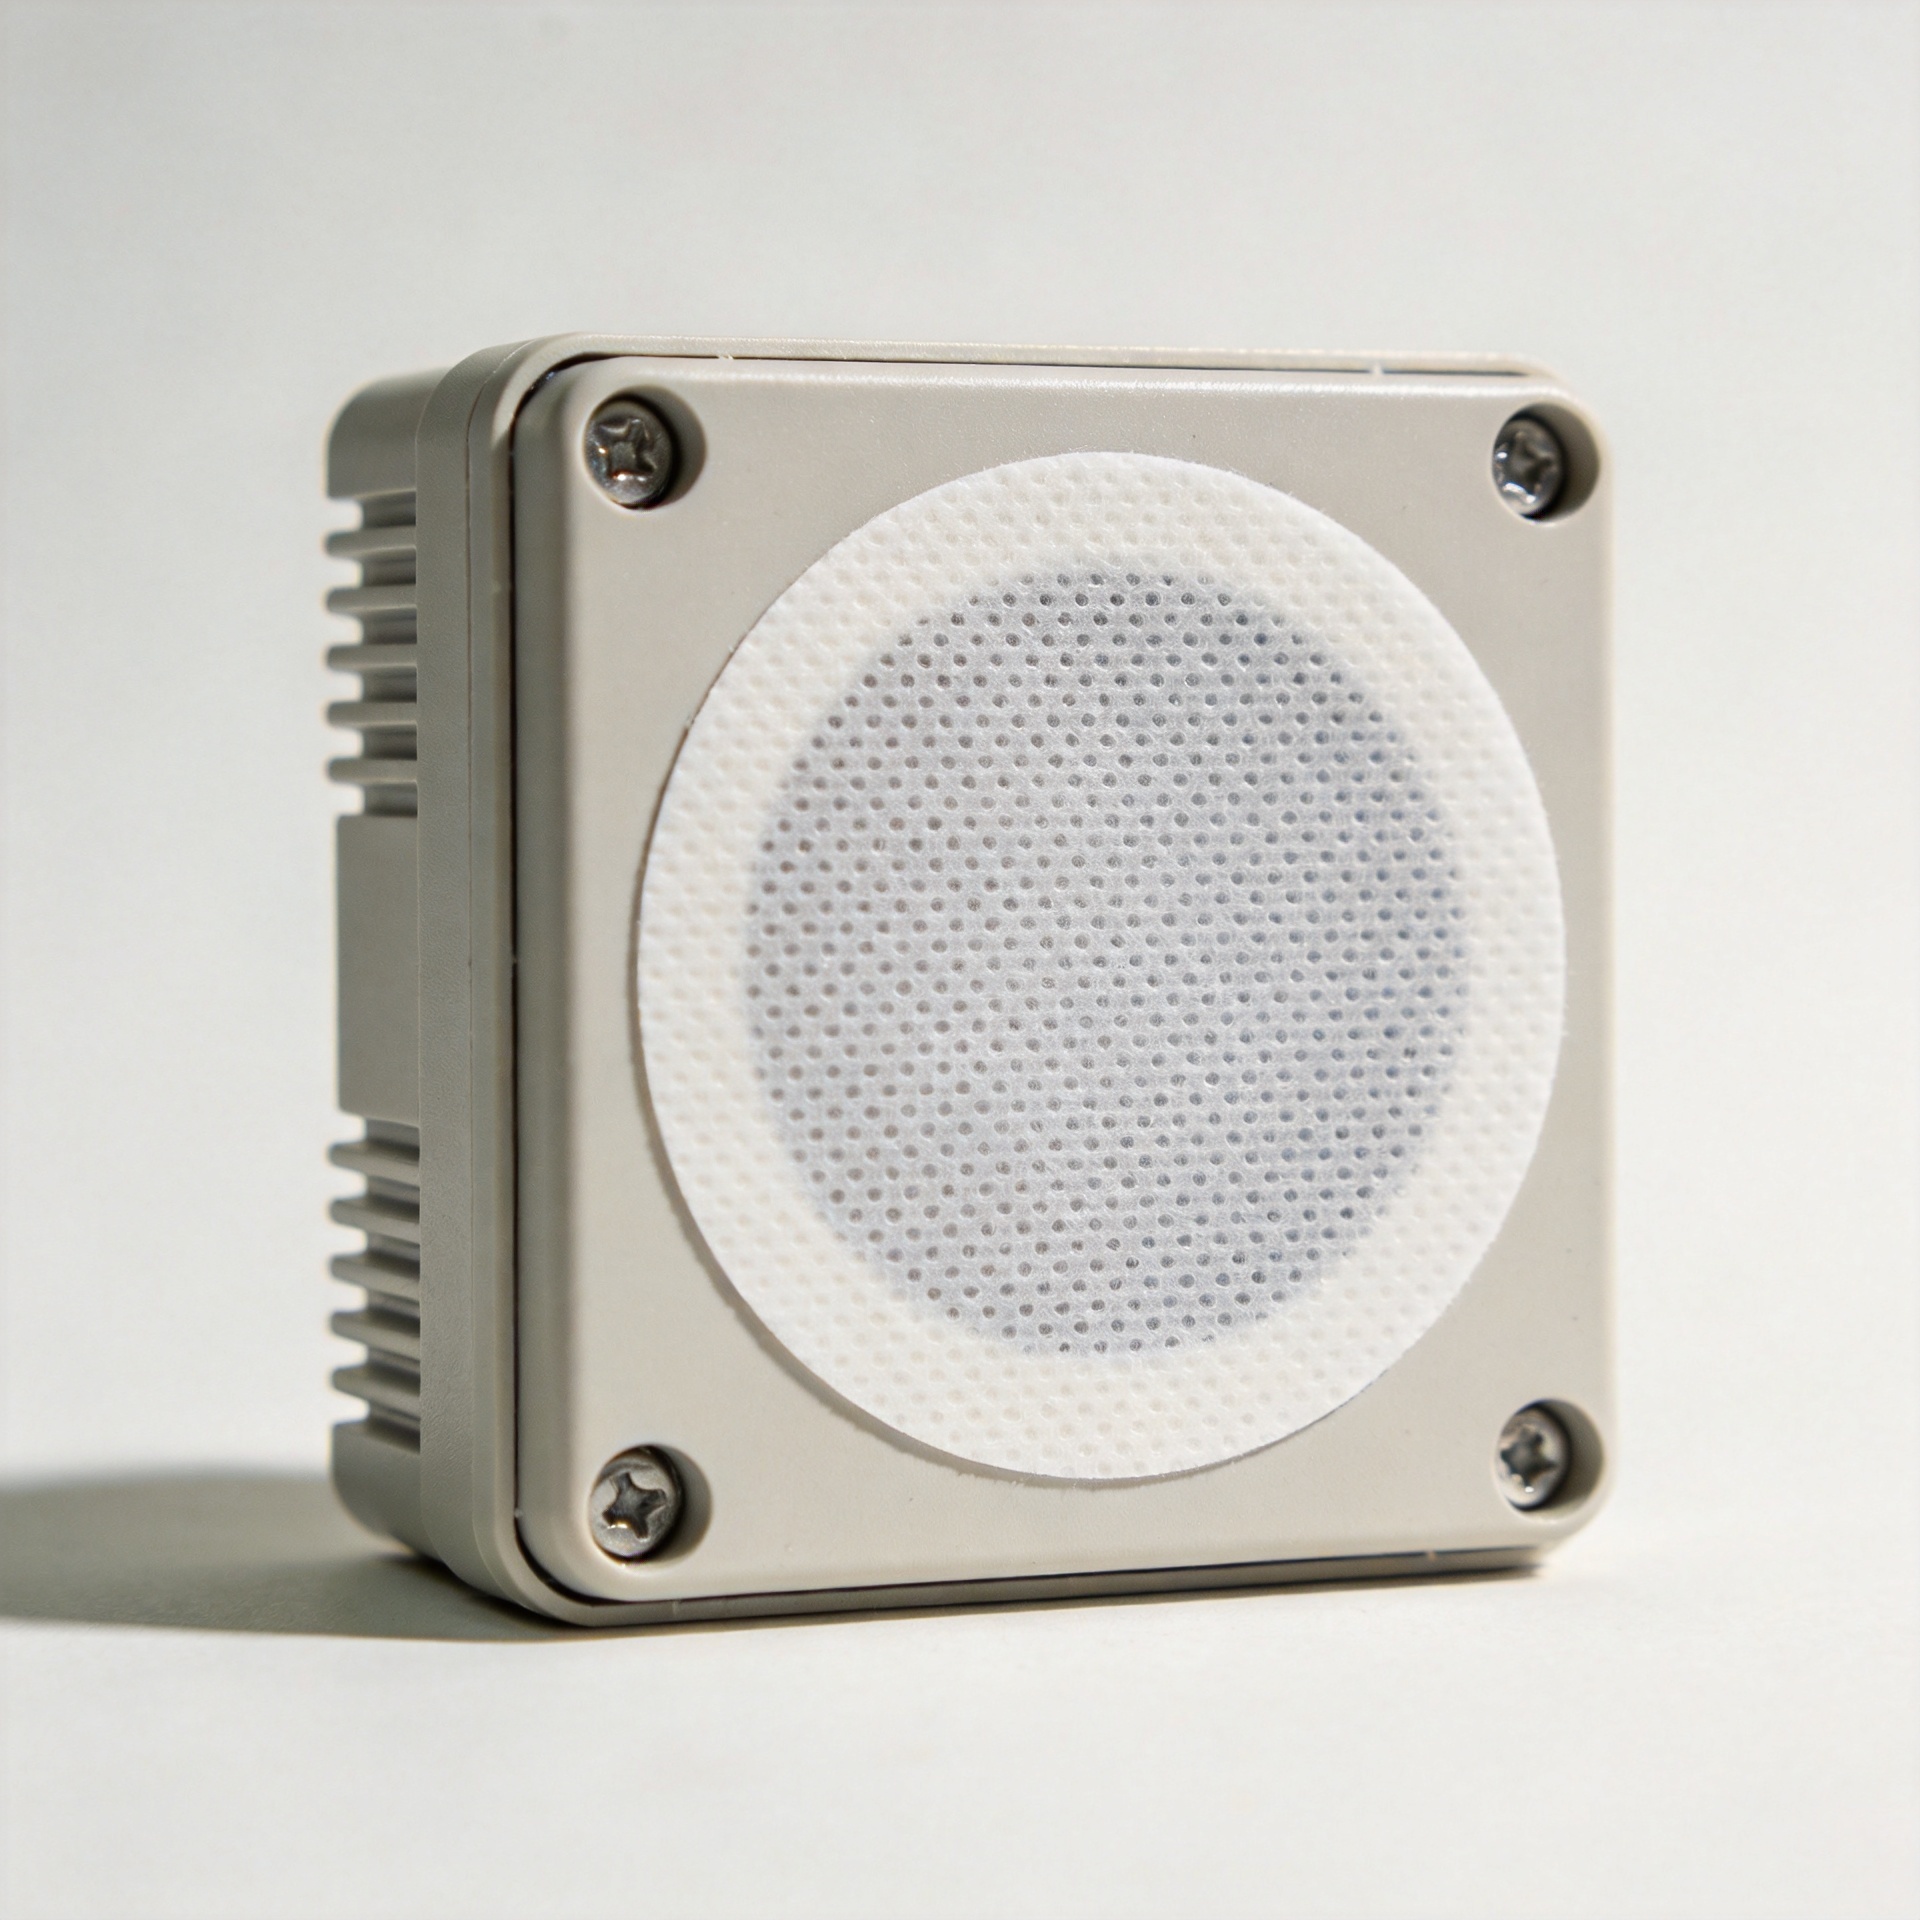
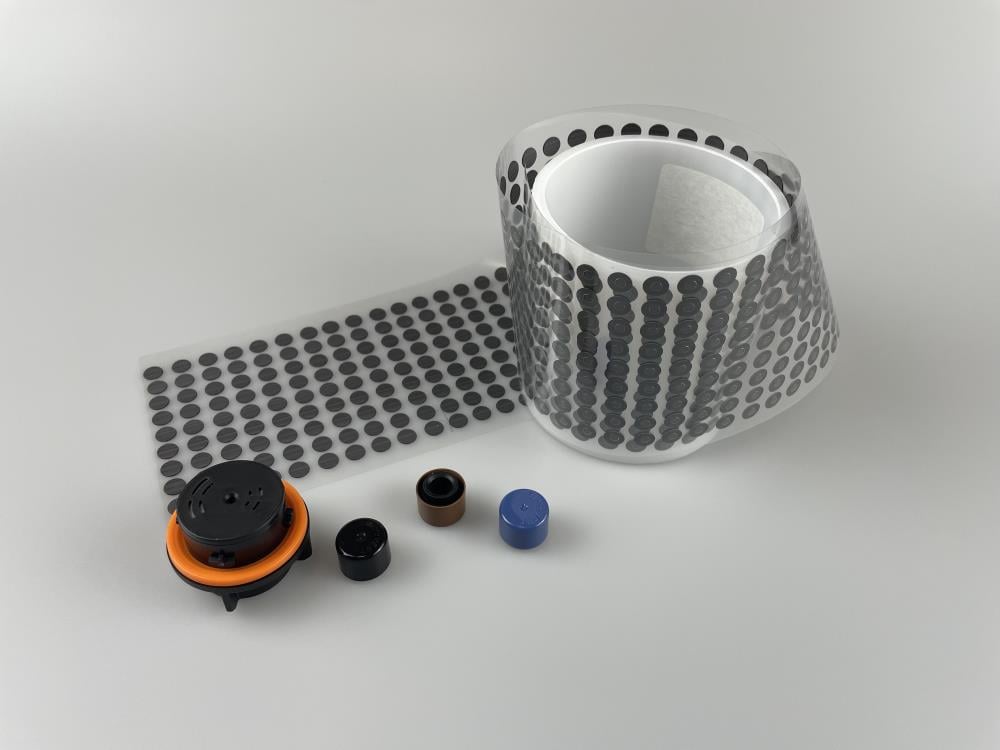
Vent sticker electronics is a topic for teams that need to plan airflow and fit in an electronic case. This page shows three catalog options: Adhesive Vent Membrane, vent plug, and vent membrane. Each option has a different form, so the case shape and build plan matter. The Adhesive Vent Membrane is a membrane with an adhesive ring. A vent plug uses a plug form. A vent membrane gives another membrane option to review. MicroVENT states that it has worked with ePTFE since 1995. It also states that it uses composite, laminated, and surface-change methods for porous membranes. Your final choice must fit the real case, the air path, the use site, and the build steps. Send a case sketch, the vent zone, and the use notes for a focused discussion.
Get A Quote

ePTFE Material Development Context

Useful facts for an electronics vent review.

Established ePTFE Focus

MicroVENT states that it has worked with ePTFE since 1995. This gives teams a clear place to start when they review a porous membrane and the facts that a project must still check.

Multiple Vent Directions

The stated product lines include ePTFE membrane, vent bottle PE liner, and vent acoustic membrane. The case, use site, and build plan should guide which line a team asks about.

Selected Electronics Vent Components

Three catalog parts for a format review.
Check the Mounting Zone First

Check the Mounting Zone First

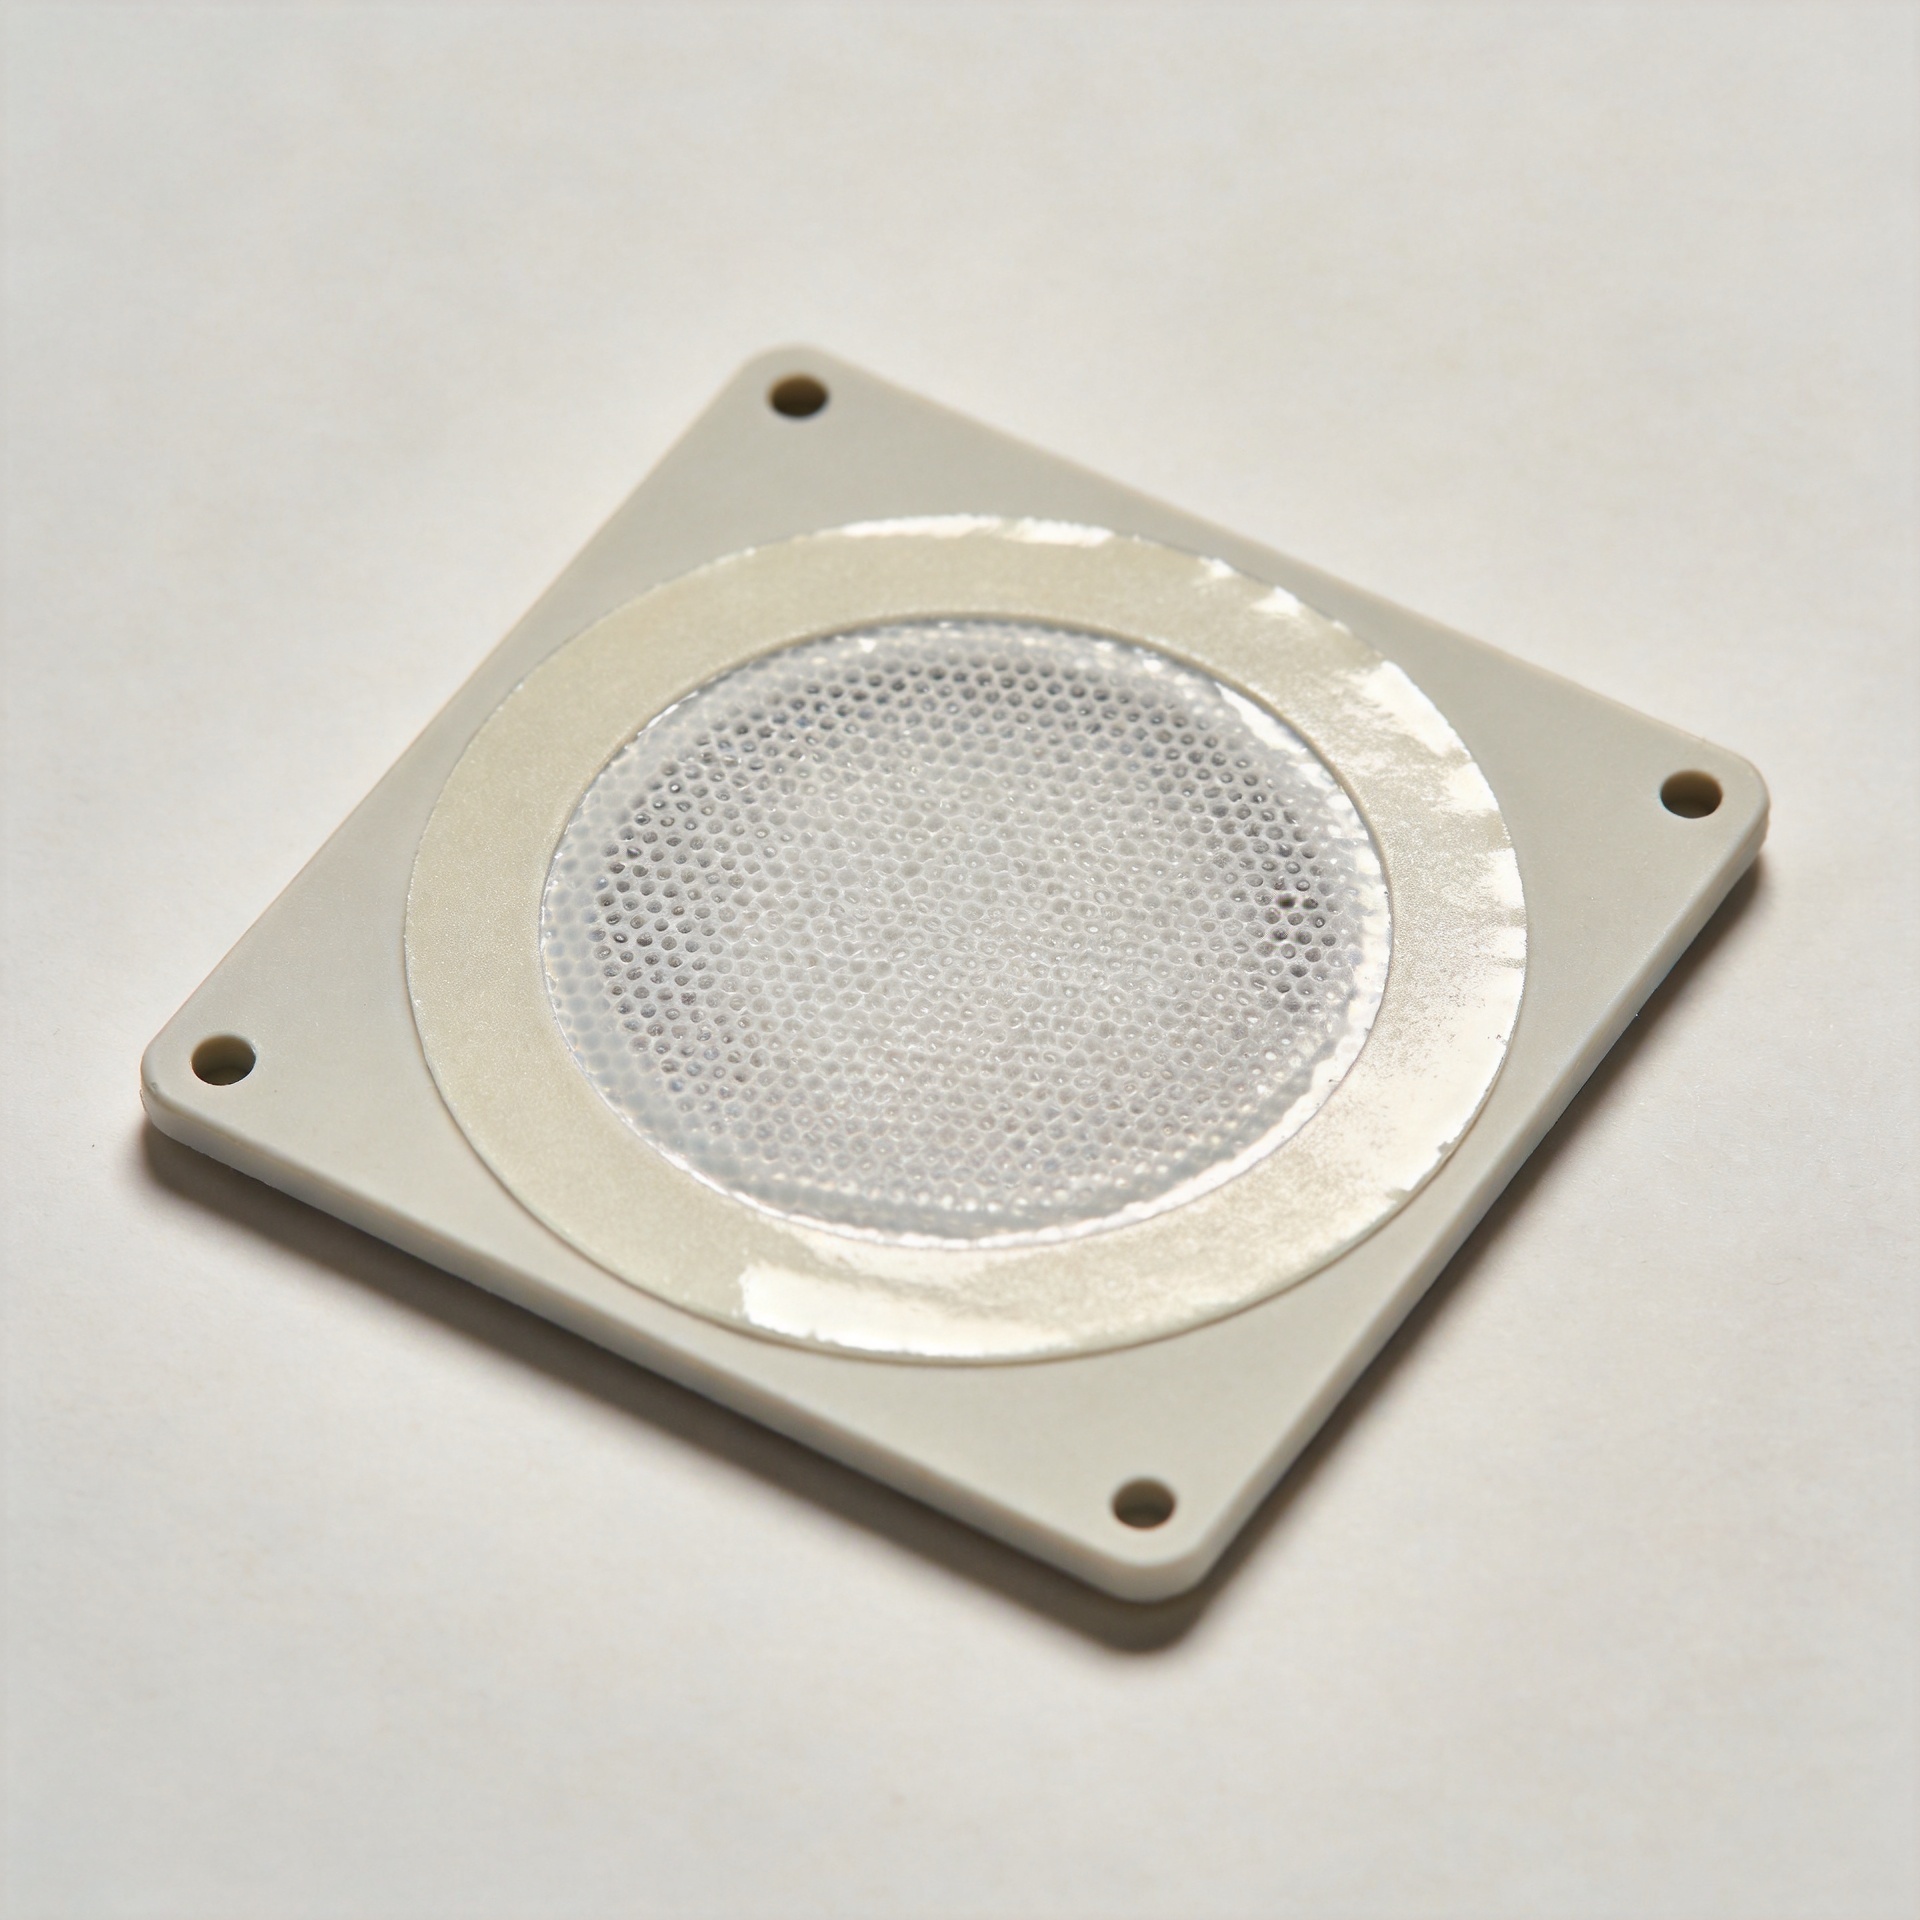
The catalog says that Adhesive Vent Membrane uses an ePTFE membrane and a pressure-sensitive adhesive ring. For vent sticker electronics work, check the flat area, edge space, case shape, and build step first. A clear mounting zone helps the team decide if an adhesive part is the right form to review. It also gives the supplier a better basis for a product discussion.

Vent Sticker Electronics Starts With the Case

Vent sticker electronics starts with the case. Look at the case shape. Mark the open area. Mark the vent zone. Note the wall form. Note the build step. These facts help set the first review.

Vent sticker electronics is not a stand-alone claim. It is one part of a full case. The air path may change the choice. The use site may change the choice. The case plan must lead the work.

Vent sticker electronics needs a clear use note. State where the unit will be used. State what may touch the case. State if heat or air shifts are a concern. State what the team needs to check.

Vent Sticker Electronics and Part Form

Vent sticker electronics may point to an adhesive part. The selected Adhesive Vent Membrane has an ePTFE membrane and an adhesive ring. This may fit a case with a set flat zone. The drawing must show that zone.

Vent sticker electronics can also be compared with a vent plug. A plug is a new form to review. Check the hole shape. Check how the part will stay in place. Check if the case design has room for this form.

Vent sticker electronics can be compared with a vent membrane too. Check how the membrane will sit in the case. Check how it will be held. Check what will guard the part in use. Keep each point in the build plan.

  • Vent sticker electronics needs a clear mount zone.
  • Vent sticker electronics needs a case drawing.
  • Vent sticker electronics needs a use note.
  • Vent sticker electronics needs a build plan.
  • Vent sticker electronics needs a part review.
  • Vent sticker electronics needs a check list.

Vent Sticker Electronics and Air Flow

Vent sticker electronics may be used when a team must think about air flow. Start with the real case. Ask where air moves. Ask how the case may heat or cool. Ask what change the team needs to check.

Vent sticker electronics may also raise a guard need. Do not turn a broad material note into a full use claim. Name the medium. Name the use site. Name the key risk. Then ask for the proof that fits that need.

Vent sticker electronics should use a plain brief. Say what the case does. Say where the part sits. Say what the team wants to know. This keeps the next talk short and useful.

Vent sticker electronics is best reviewed with the full part stack. Add the case part. Add the mount zone. Add the membrane part. Add any nearby seal or cover. This shows what must fit at the same time.

Vent Sticker Electronics Build Review

Vent sticker electronics needs a build review. Set out who adds the part. Set out when the part is added. Set out how the mount zone is kept clean. Set out how the team will look at the fit.

Vent sticker electronics should use one shared drawing. Put the vent zone on the drawing. Put the size on the drawing. Put the part form on the drawing. This helps all teams use the same plan.

Vent sticker electronics needs a simple ask to the supplier. Send the case outline. Send the vent zone size. Send the use note. Send the key check that the team has in mind. Then compare the Adhesive Vent Membrane, vent plug, and vent membrane with that brief.

  • Vent sticker electronics needs the real case context.
  • Vent sticker electronics needs the right part form.
  • Vent sticker electronics needs a defined use site.
  • Vent sticker electronics needs project-specific checks.

Vent Sticker Electronics FAQ

Short questions for a case and vent review.

What is a vent sticker for electronics?

Vent sticker electronics is an adhesive vent topic for an electronic case. The selected Adhesive Vent Membrane is described in the catalog as an ePTFE membrane with a pressure-sensitive adhesive ring. The part form is only the first point to review. The case shape, flat mount zone, use site, air path, and build steps also matter. Send those facts with the request. This lets the team discuss the part in the real case context. It does not turn a basic part note into a claim for every use.
Vent sticker electronics selection starts with the case. Show the case drawing and the mount zone. State the case material and the build step. State where the unit will be used. State the air, heat, or medium concern that the team needs to review. Then ask for the product data that fits the need. A clear brief is more useful than a broad claim. It helps compare an adhesive part with other forms. It also helps the team keep the fit review tied to the real assembly.
Vent sticker electronics may be compared with a vent plug when the case is made for a plug form. Check the hole shape. Check the wall form. Check how the plug will stay in place. Check the build path and the use site. The form of the case should guide the first part choice. Do not assume that a plug and an adhesive membrane fit the same case in the same way. Share the drawing and the use notes. Then request a review based on those project facts.
Vent sticker electronics review needs a short but clear brief. Include the case outline, the mount zone size, the case material, and the part site. Include the build step and the planned use site. State the medium or air concern. State the result or check that the team needs to discuss. If a test or proof is needed, name it in the request. This makes it easier to compare the Adhesive Vent Membrane, vent plug, and vent membrane with the same real project facts.
Vent sticker electronics is the project topic. Use the same topic in the drawing title, request note, and part review list. This keeps the case facts with the right work stream. It also helps the team avoid mixing an adhesive vent review with a plug or membrane review for a different unit. The keyword does not replace a drawing or test plan. It is only a short label for the project context and the questions that the team needs to check.

Get a Free Quote

Our representative will contact you soon.
Email
Name
Company Name
Message
0/1000

Related Venting Topic

Get a Free Quote

Our representative will contact you soon.
Email
Name
Company Name
Message
0/1000