Begin With the Device
A vent sticker is part of an assembly. Start with the box or device that will hold it. Show the opening, the space around the opening, and the part of the line where the vent sticker goes on. A clear drawing makes the first talk much easier. It also stops a team from choosing a vent sticker part only by name.
Next, describe the use setting. Say if the box may see dust, water, oil, heat, or changes in pressure. A vent sticker for one setting may not fit another setting. The use medium, the box, and the pressure profile all matter. Keep the facts simple and clear in the first inquiry.
Match the Format to the Opening
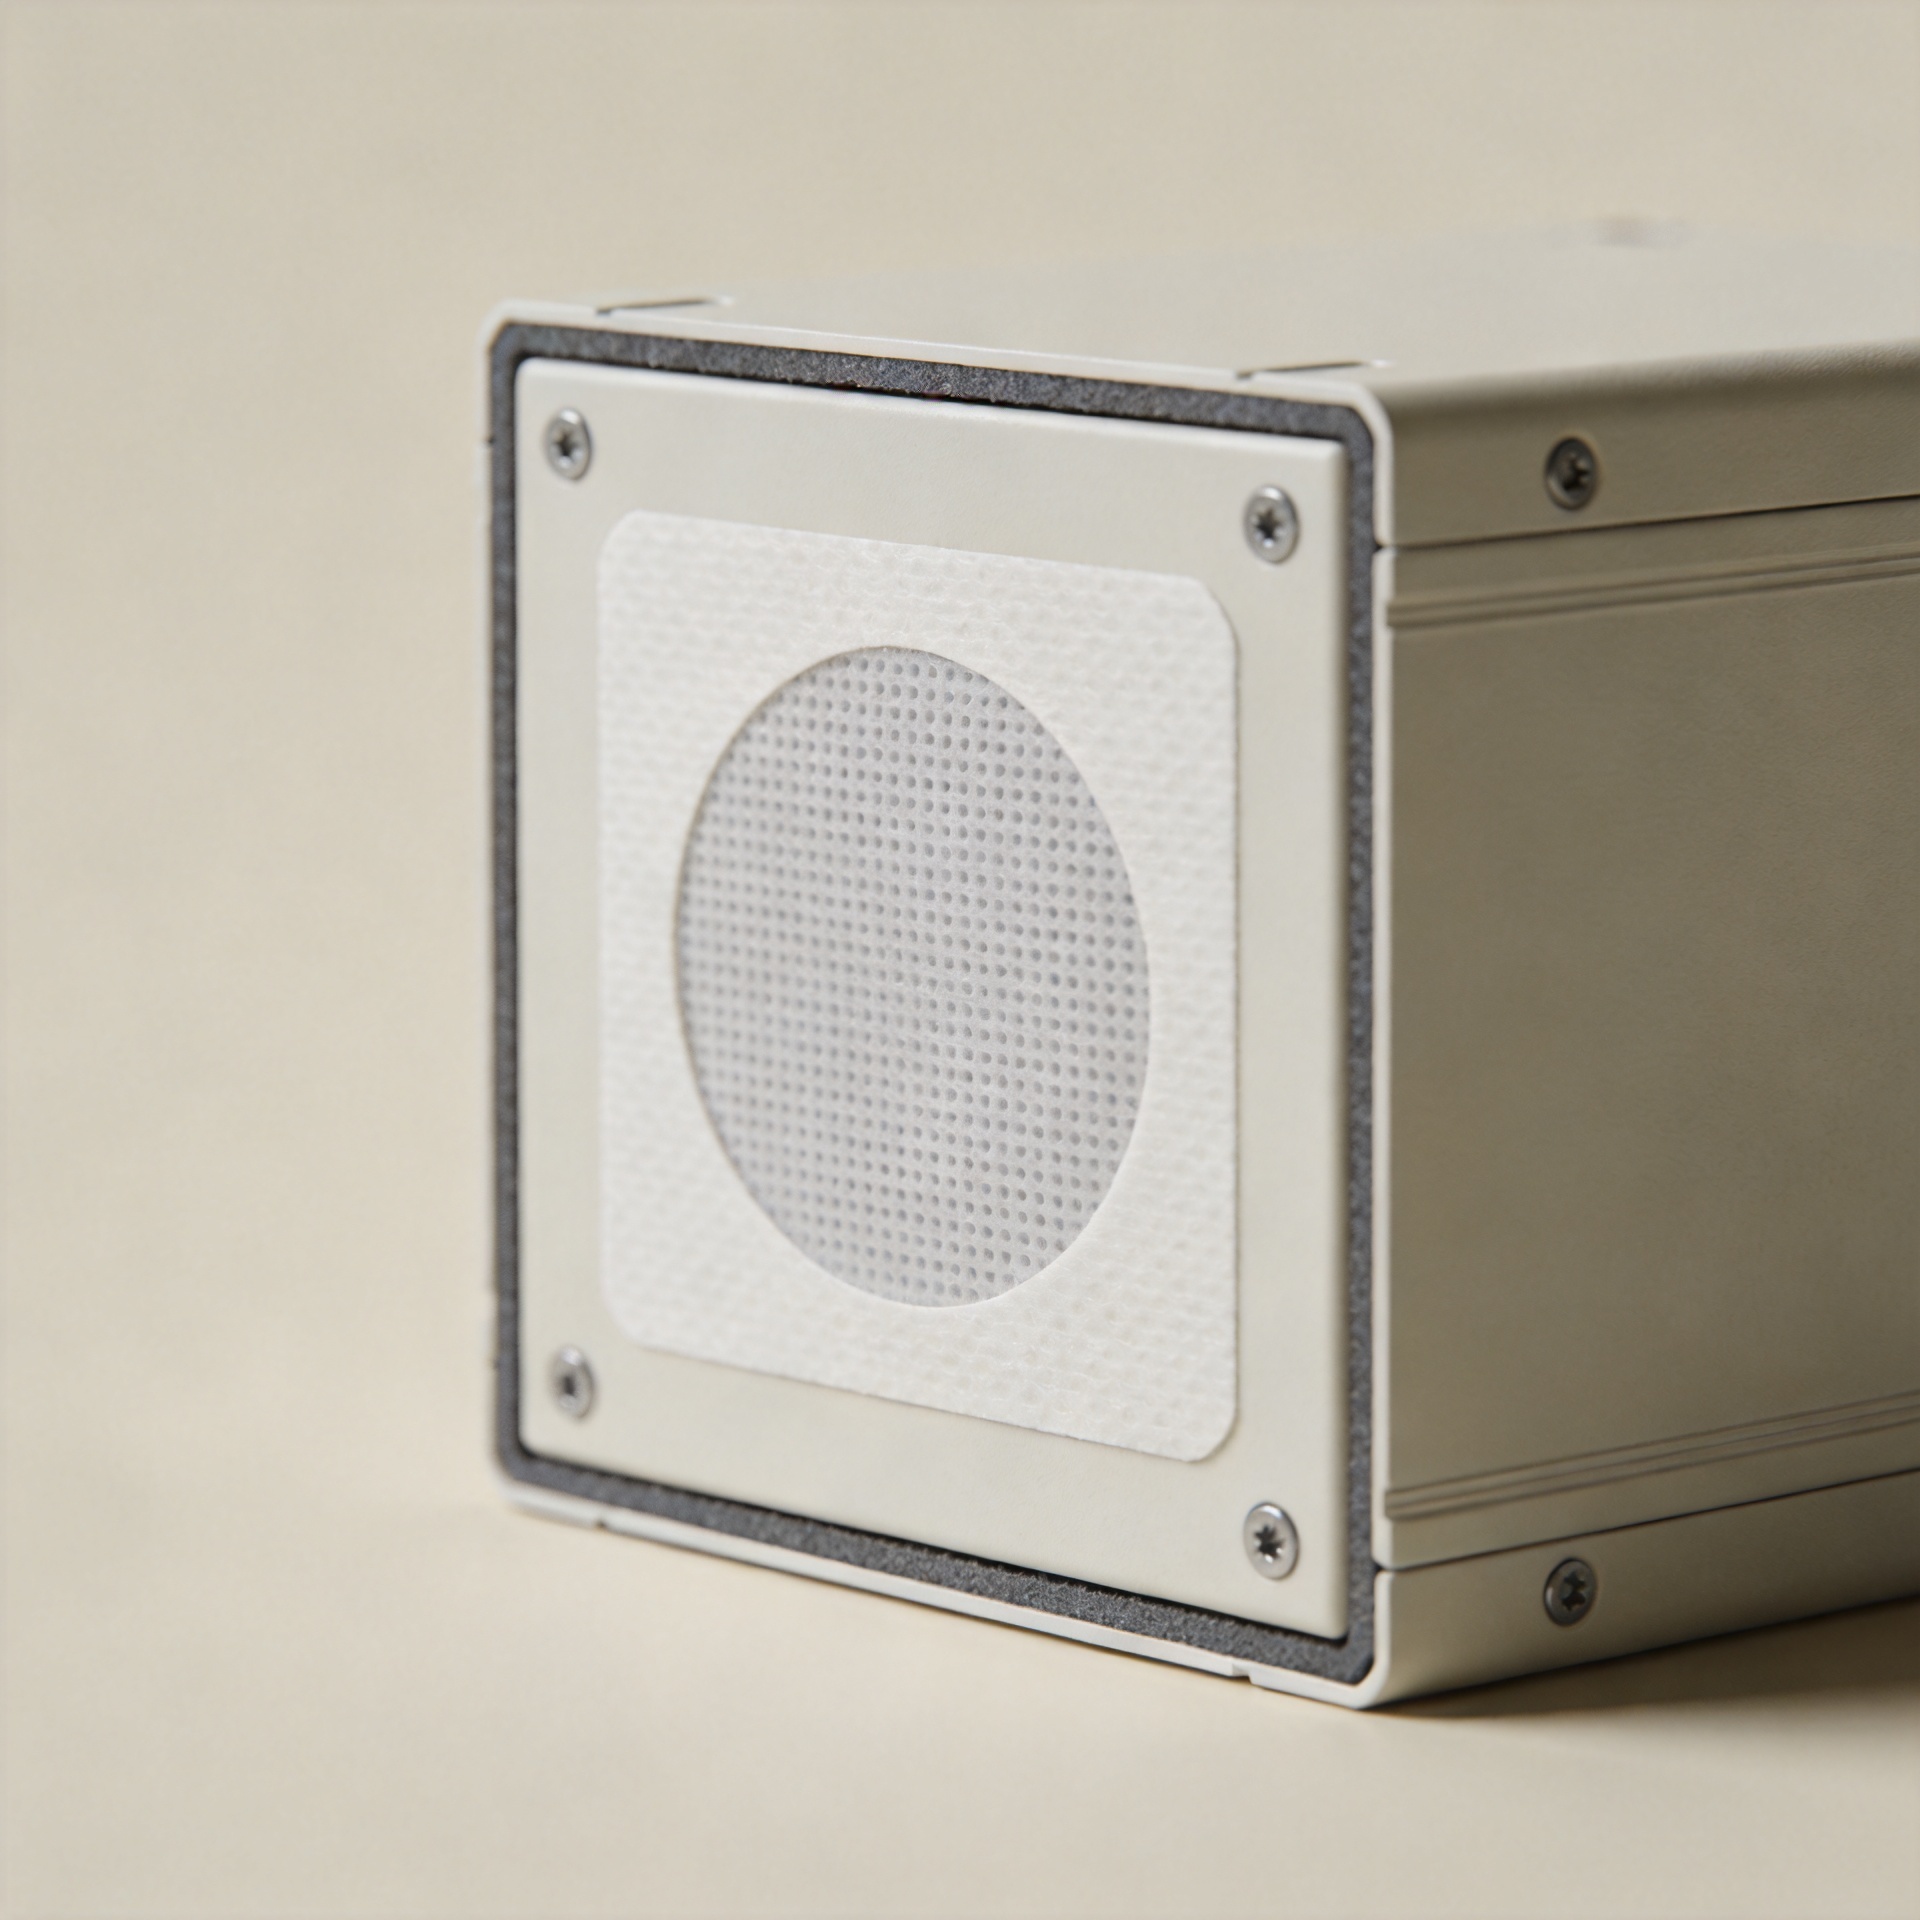
The catalog record for Adhesive Vent Membrane describes a membrane with a pressure-sensitive adhesive ring. A vent sticker may be worth review when the box has a sound bonding area and the team can place the part with care. Check the edge of the opening and the space needed for the ring.
- Mark the vent opening on the drawing.
- Show the flat area near the opening.
- State if the surface is curved, rough, coated, or wet during assembly.
- State when the vent sticker is put on the part.
- Note if later steps may touch the vent sticker.
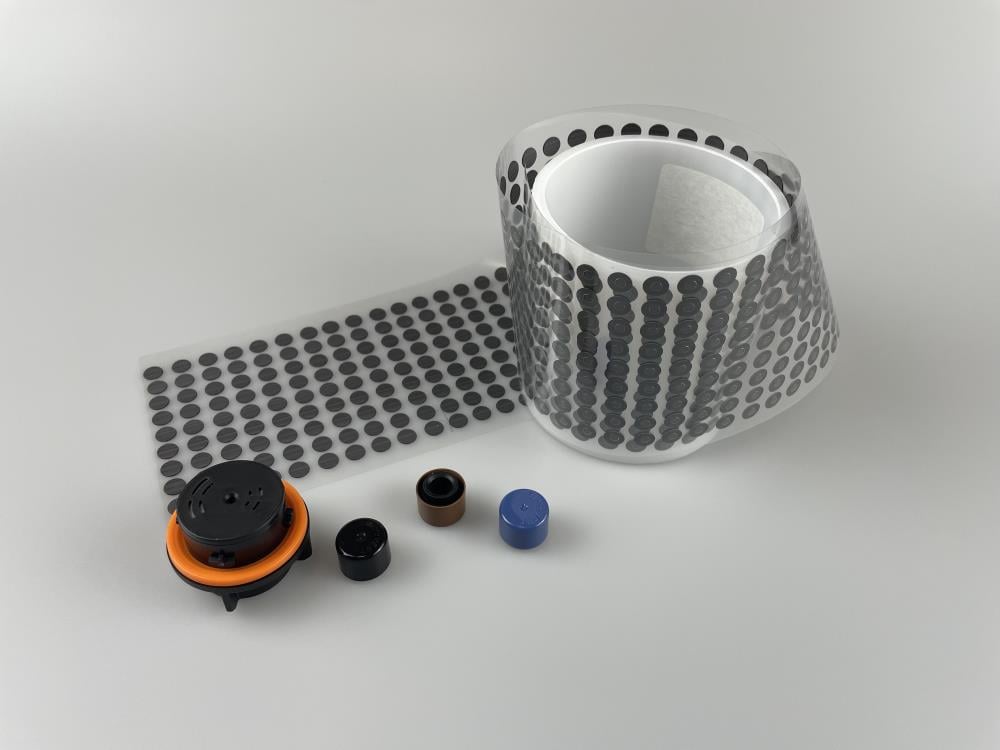
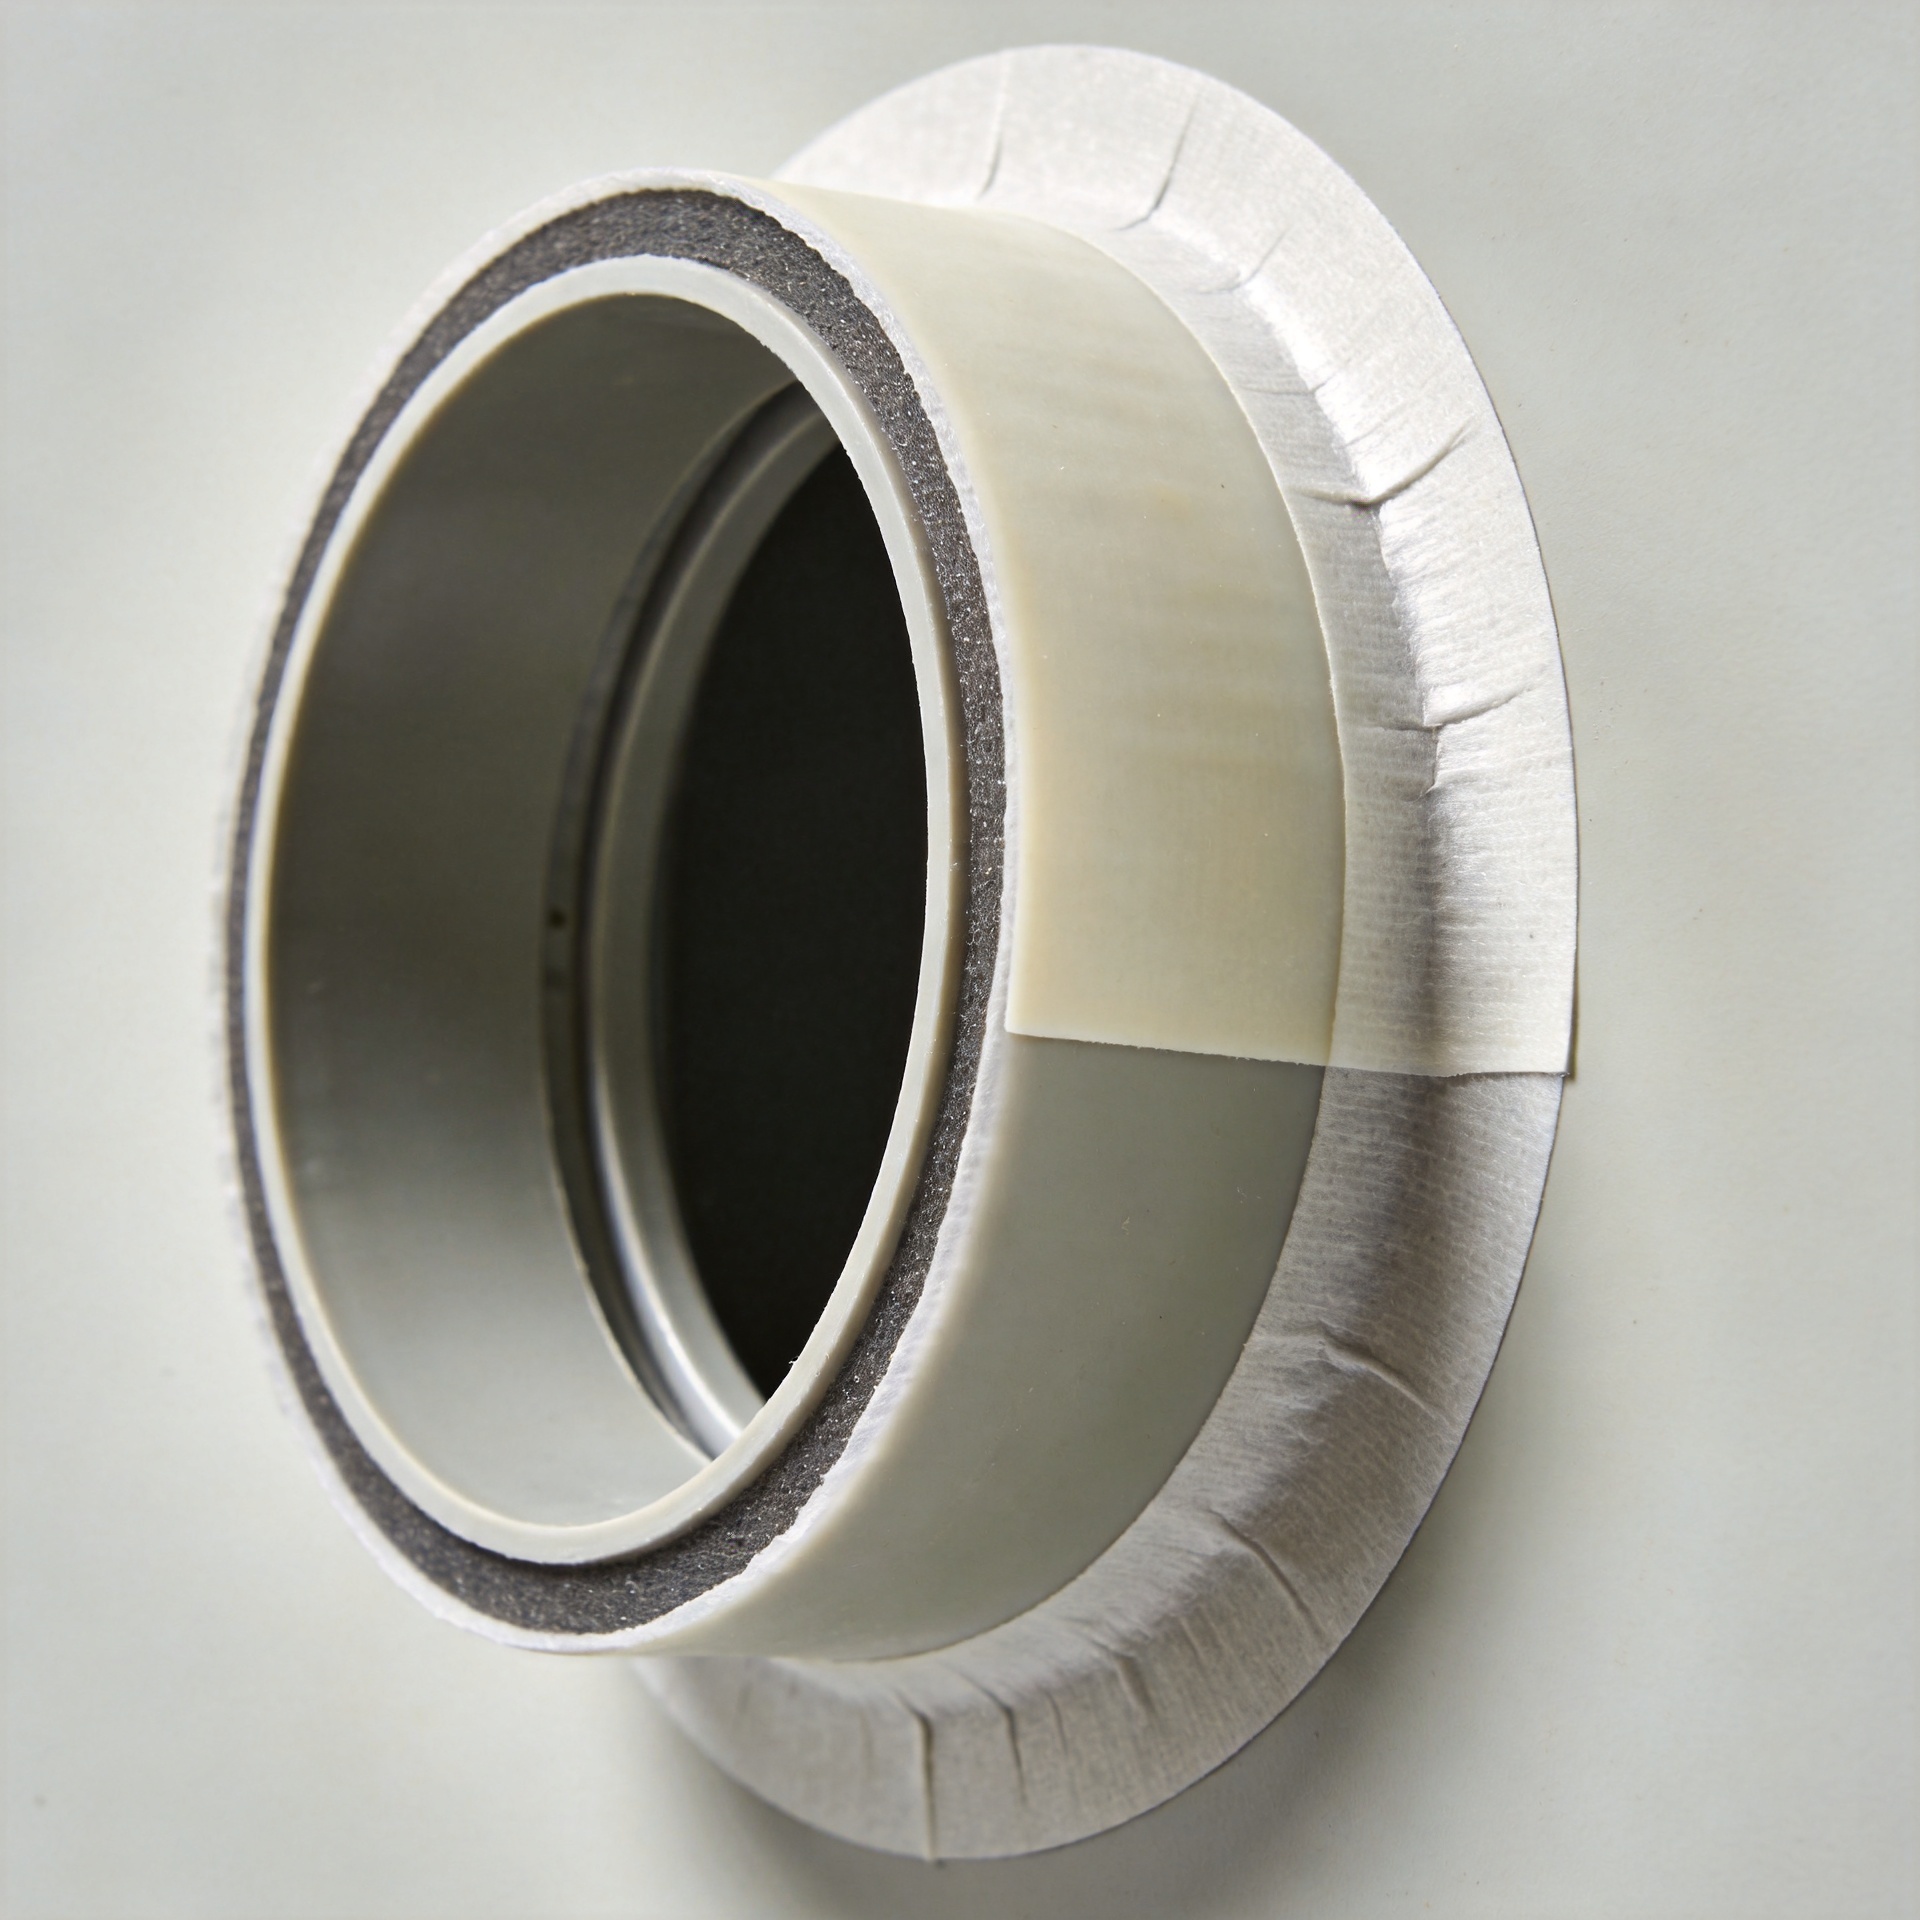
A vent plug is another catalog format. A vent membrane is also a catalog product. Each format has a different way to join the housing. Compare the vent sticker, vent plug, and vent membrane against the real opening. This is more useful than a broad product claim.
Set the Use Conditions
Engineered porous material must be reviewed with its use setting. A vent sticker review should name the medium near the box and the changes the box may see. State if pressure moves fast or slowly. State if the air is dry or wet. State if dust, oil, or liquid may reach the vent sticker. These notes help set the right vent sticker questions.
Buyers often need to weigh air flow and entry control. Treat this as a project question, not as a promise from a part name. Ask for product data that relates to the proposed vent sticker and the planned use. If a test, grade, or standard is needed, name it. Then confirm that its scope fits the project.
Keep Facts and Checks Separate
MicroVENT states that it works with ePTFE materials and uses composite, lamination, and surface-modification methods. Those facts can guide a first vent sticker talk. They do not prove how a part will work in every box. Ask which product record and which drawing apply to the vent sticker being reviewed.
Keep two lists. Put confirmed product facts on one list. Put items that still need a check on the other list. This is useful when the box has a new shape or a hard use setting. It helps the buying team and the design team use the same facts.
Send a Useful Inquiry
A good inquiry gives the supplier a real starting point. Add the drawing. Tell where the vent sticker will sit. Name the medium, the use setting, and the part of the build where the vent sticker goes on. State if you are also comparing a vent plug or a vent membrane.
Then sum up the choice in three steps. Define the use setting. Match the vent sticker format to the opening. Request the product data needed for the intended use. This vent sticker path keeps the review focused and leaves final vent sticker fit to a project check.
 EN
 AR
 CS
 FR
 DE
 IT
 JA
 KO
 PT
 RU
 ES
 ID
 VI
 TH
 TR
 MS