An acoustic membrane sits at a device opening. Its role depends on the full device design. Start by naming the acoustic part near the opening. It may be a speaker, mic, receiver, or sound part. Then mark the hole on a drawing. Show its size, shape, and spot. Show the housing around the hole as well.
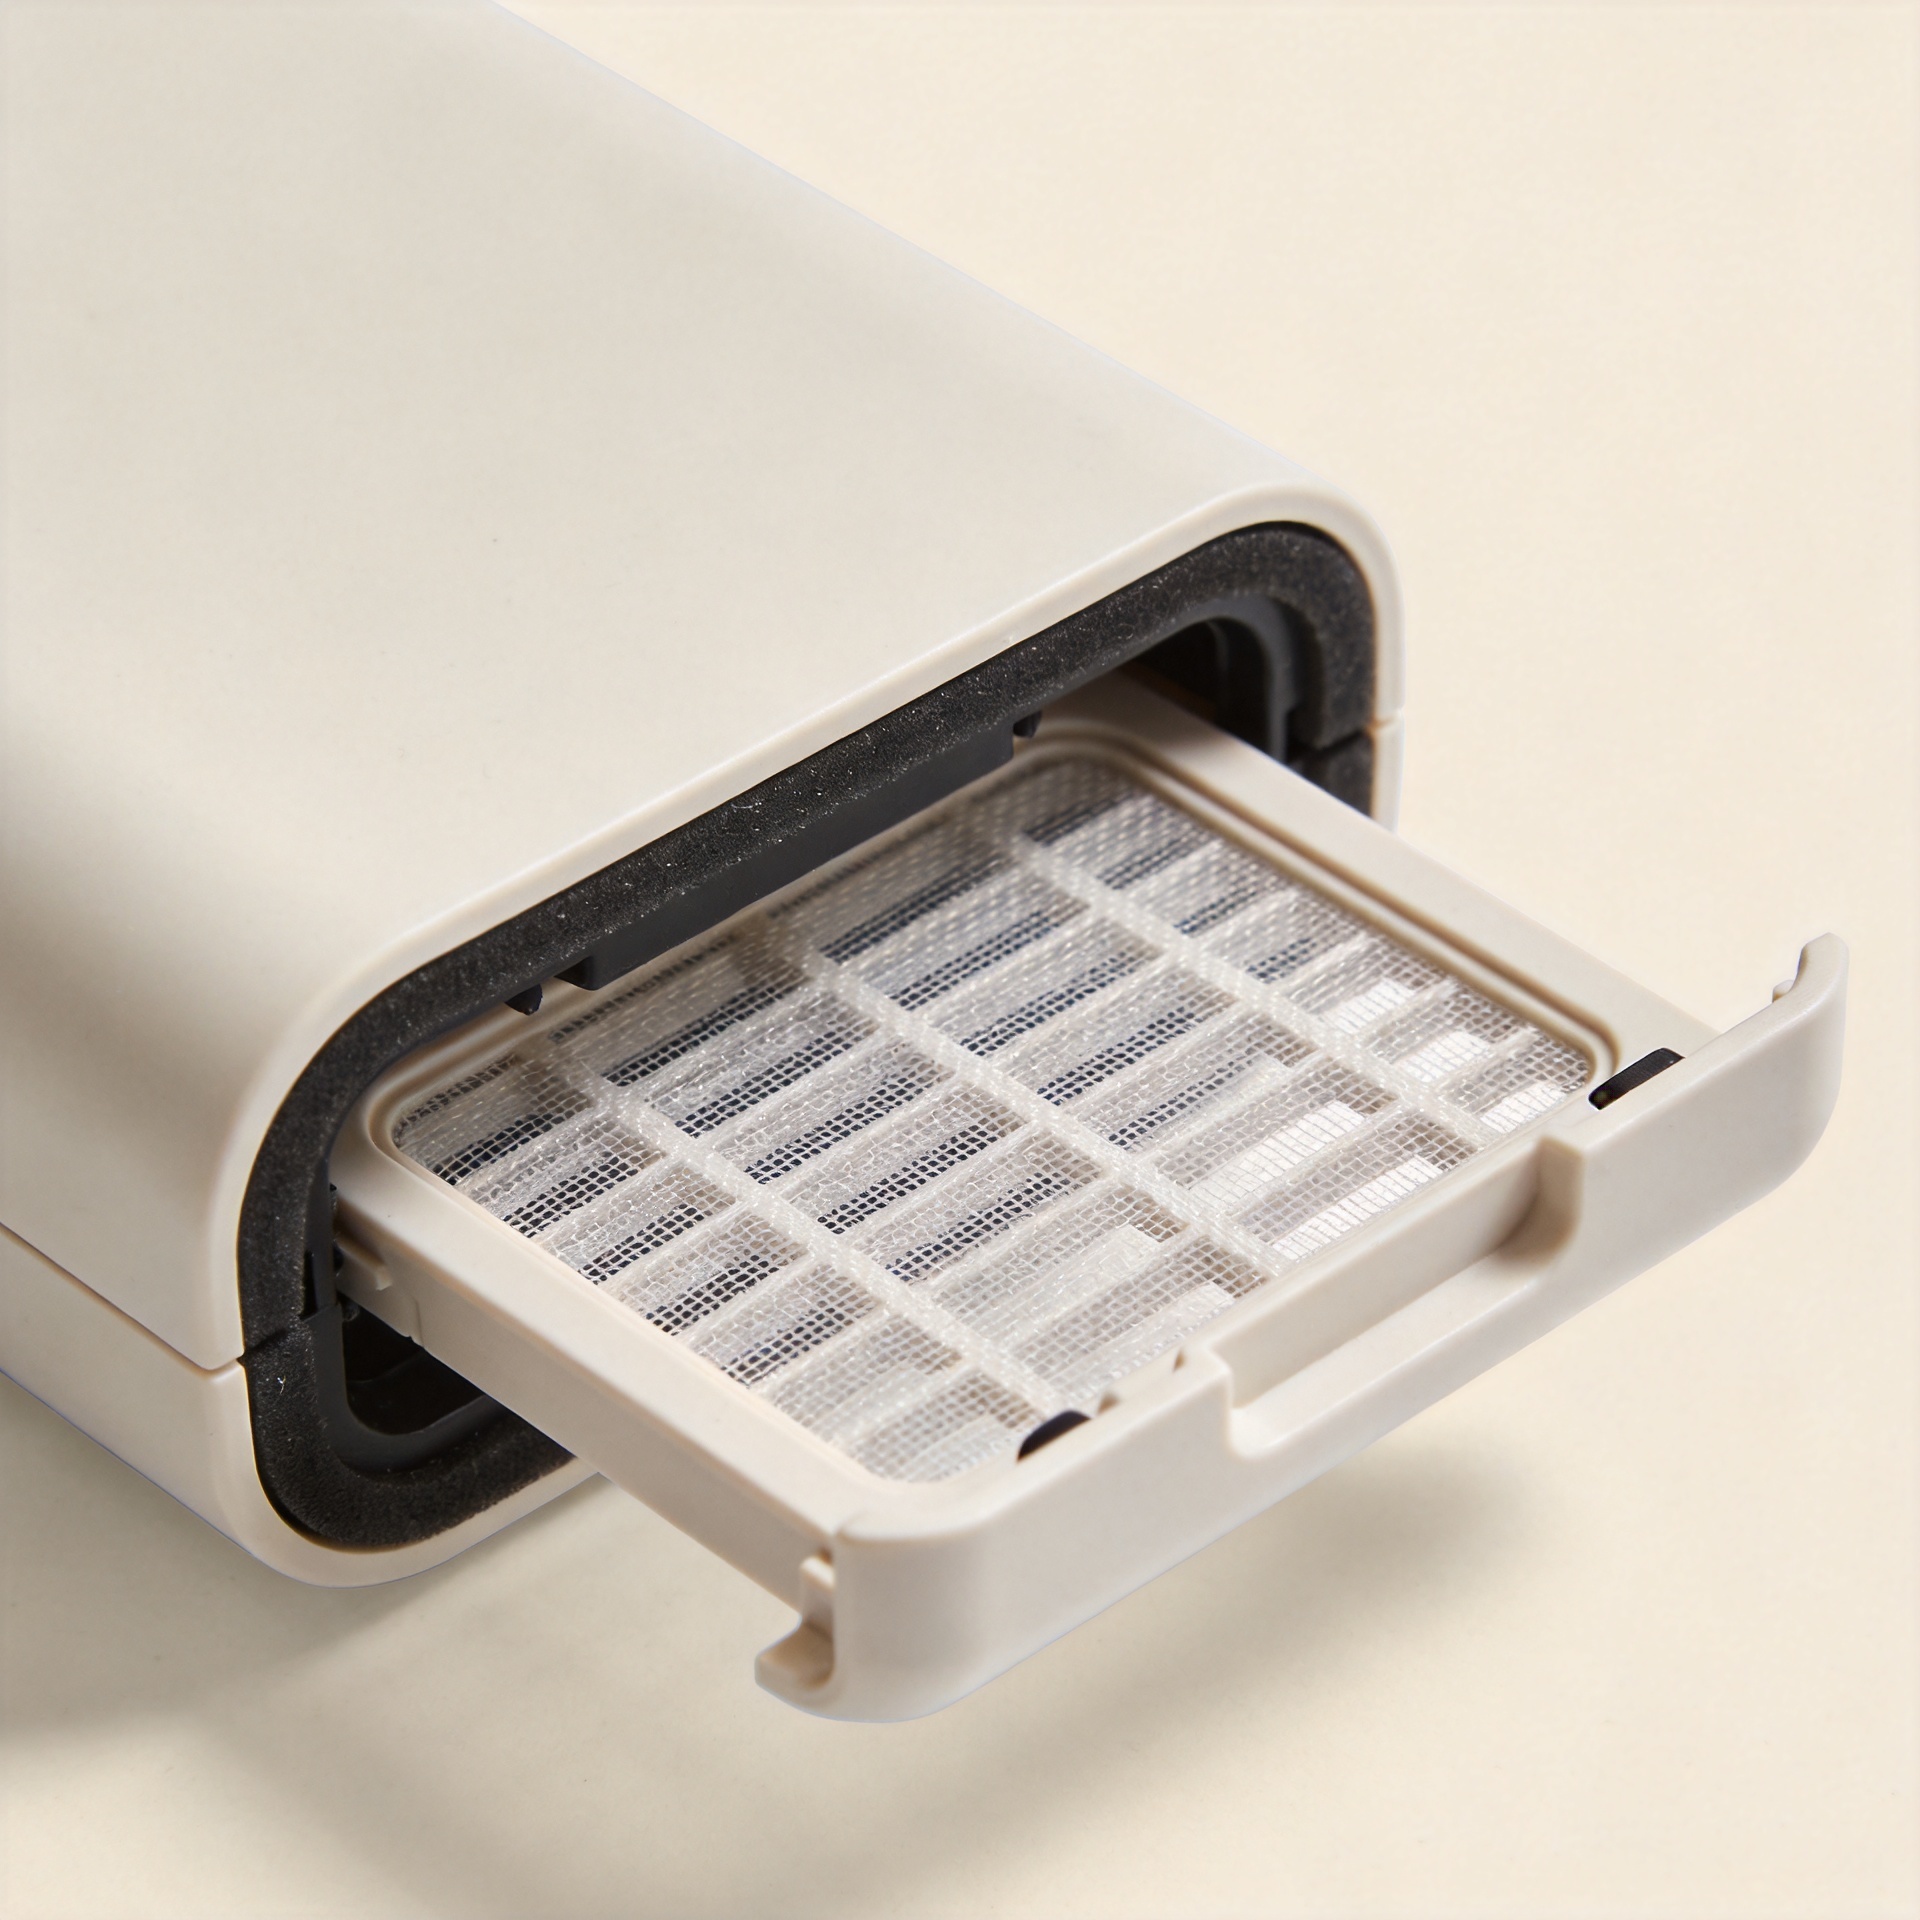
Next, show the path to the outside. Is the acoustic membrane behind a grille, cover, or seal? Is the opening exposed? Are ribs, clips, or other parts near the placement area? These facts frame the acoustic membrane fit question. They stop a product name from becoming a design claim.
Use conditions guide the review. Say where the device will be used and handled. Say what medium may reach the hole. Say how often this may happen. Add cleaning, storage, shipping, and normal use when they matter. Do not use a broad barrier claim instead.
Pressure also matters. Note if the housing sees pressure change from handling, heat, height, or movement. Explain the expected pattern. Check the acoustic membrane against that profile. The result depends on the housing, medium, and pressure. One feature word does not decide it.
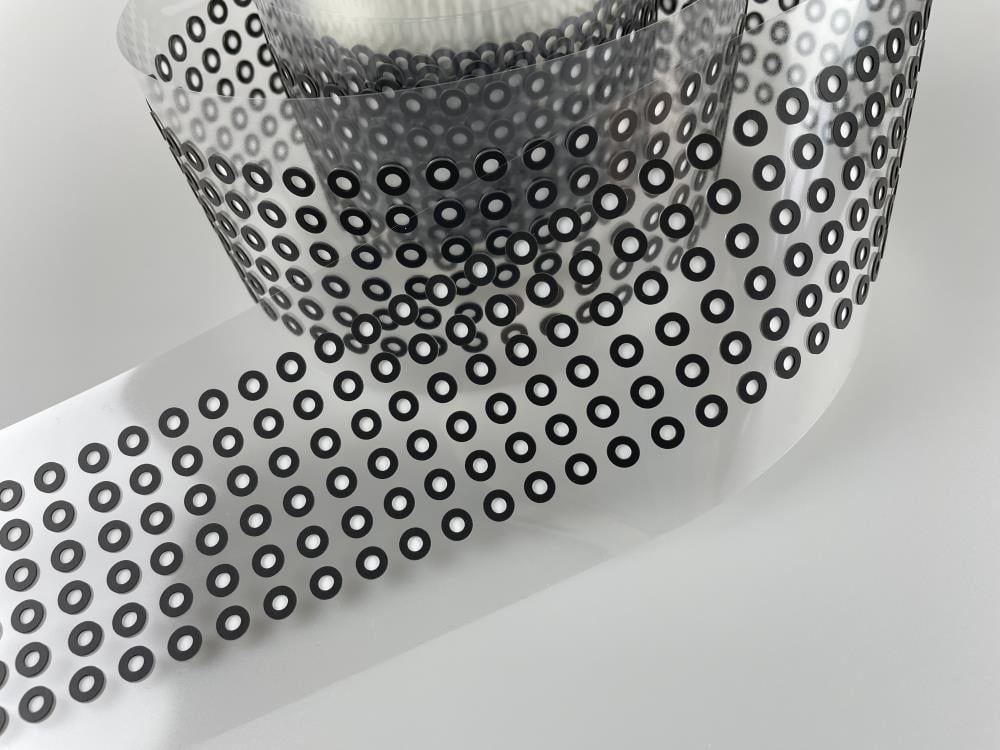
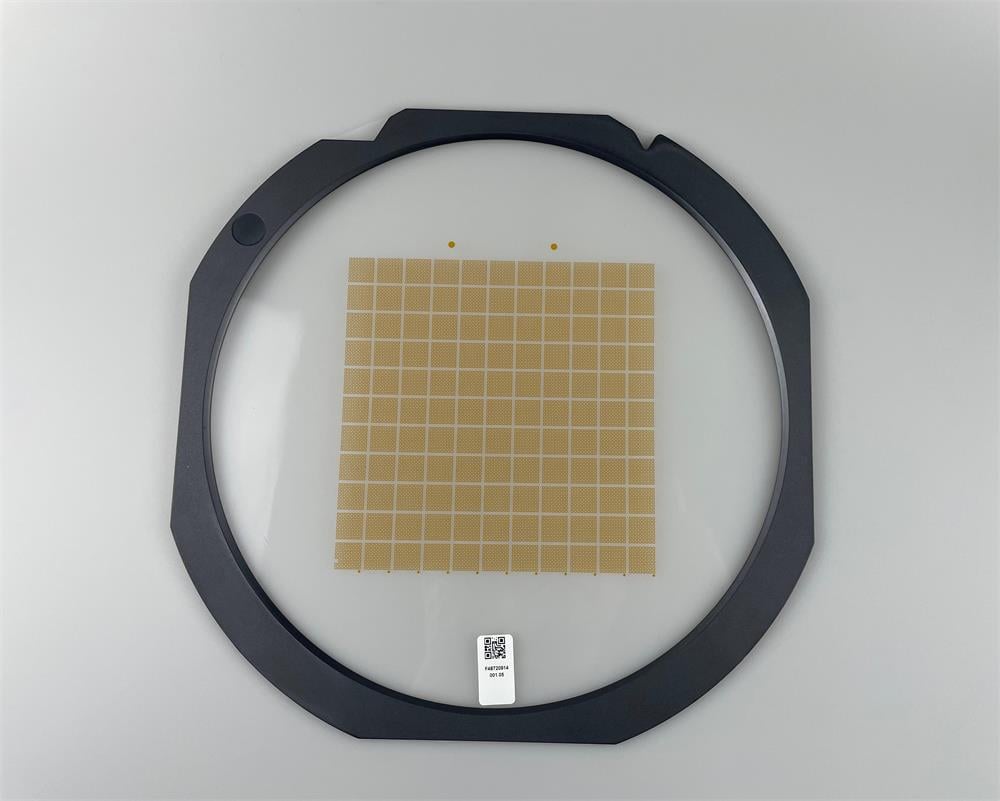
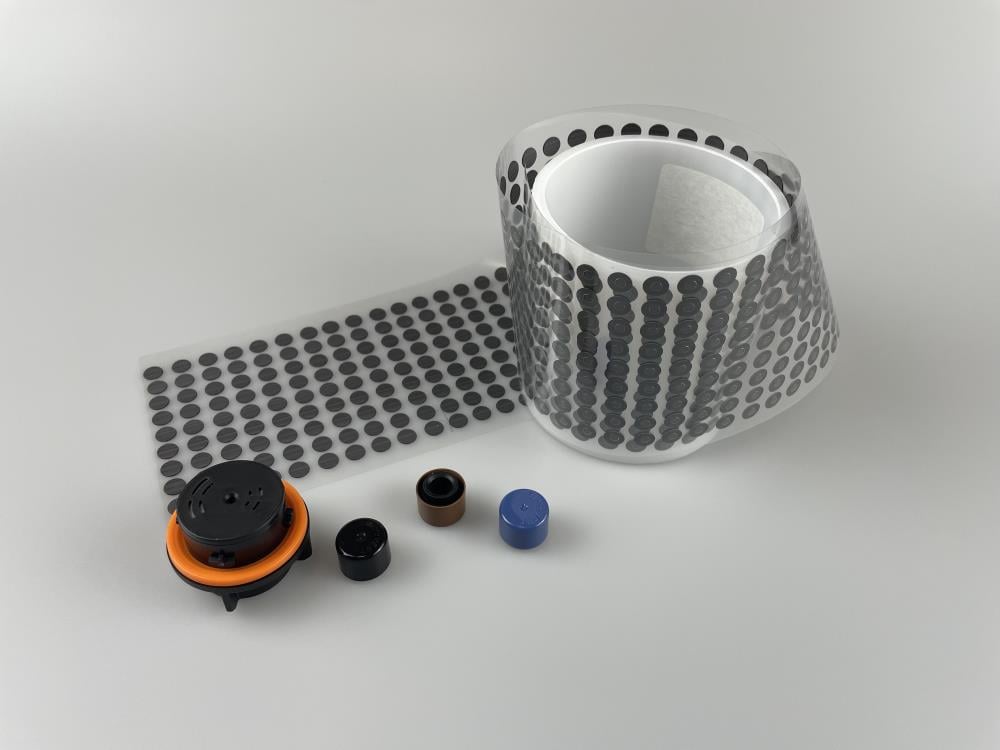
The catalog shows four related directions. Acoustic Vent Membrane is the direct acoustic membrane topic match. Vent membrane is a related venting format. MEMS protection membrane is a related electronics option. Adhesive Vent Membrane raises an installation-format question. These records guide a first search. They do not prove that one format fits every device.
For each option, ask for the product record, drawing, and install notes. Compare them with the device drawing. Check the acoustic membrane area and build order. A catalog record helps at this stage. It does not replace a device review.
A poor geometry match can slow the project. Check the hole, the placement area, and nearby parts. Check the contact area and surface. Check the allowed placement range. Note any grille, seal, cover, or housing part that may touch the membrane after build.
For an adhesive option, name the base and planned placement step. Show the area left exposed after install. For another hold method, describe that contact area. A simple cross-section helps. It shows the supplier the membrane spot in the real part stack.
Turn each concern into a checkable question. Ask if the acoustic membrane format fits the hole and build plan. Ask which product documents fit the stated use. Ask how the project will check the sound unit. Ask what still needs a project check. Keep catalog facts apart from unknown items.
For liquid exposure, compare the stated medium and contact area first. For sound, state the device setup and how it will be checked. For pressure change, state the profile and housing behavior. This approach stays conditional. It avoids an unproven claim for one device.
A good inquiry helps the first acoustic membrane review. Include a drawing or photo of the hole. Include the device use, membrane spot, and main use conditions. Say if you need a current item review or format comparison. Add the build method and open questions.
MicroVENT lists ePTFE membrane, vent bottle PE liner, and vent acoustic membrane. Its profile also names composite, laminate, and surface-change work. This is background for the review. It does not prove fit. Send the details through the inquiry form. The next step can focus on fit, documents, and checks.

As one of the leading enterprises in industry of ePTFE membranes, MicroVENT® has been engaged in design, production as well as research and development of ePTFE technology since 1995. ePTFE membrane has excellent chemical stability, heat resistance and other properties. MicroVENT® uses composite, laminated, surface modification techniques and confers the ePTFE membrane which has a porous structure for improved strength, heat sealing resistance, Hydrophobic and Oleophobic.
NO.8 QIANCAO ROAD,LIJIA,CHANGZHOU.JIANGSU.CHINA
Copyright © © 2026Pan Asian Microvent Tech (Jiangsu) Corporation.All rights reserved. | Privacy policy
 EN
 AR
 CS
 FR
 DE
 IT
 JA
 KO
 PT
 RU
 ES
 ID
 VI
 TH
 TR
 MS